Client Area
Here we will go through all the different areas of your Client Area and what each area does. It’s a lot to read so you may want to grab a coffee to keep you going!!
The main area is your Dashboard, showing menus to many areas, your Services/Products, new services and so on.
So let’s look at the dashboard.
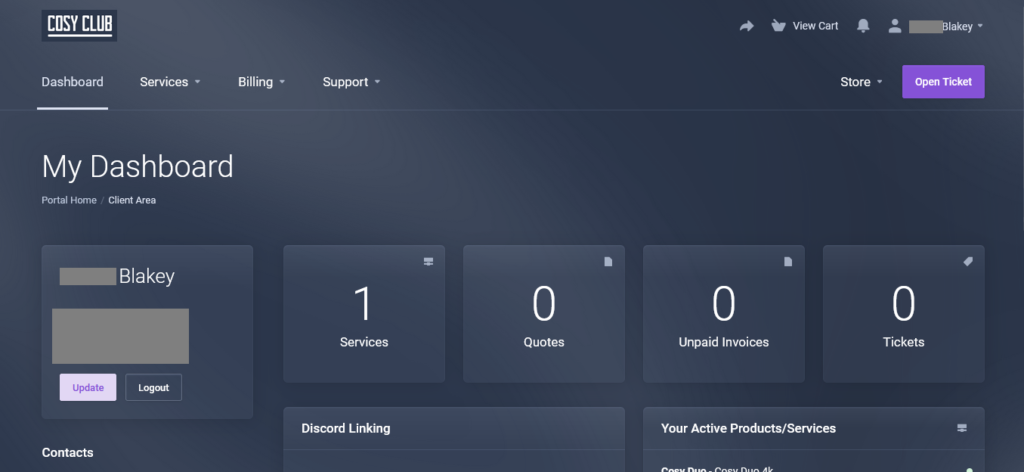
Above we see the full view of your Dashboard (Mobile view you will need to swipe left/right).
Across the top you can see the different menu options, clicking will show more options under that area treat them as shortcuts.

Across the top right is your Profile and Account shortcuts, we’ll touch on that a little further down.
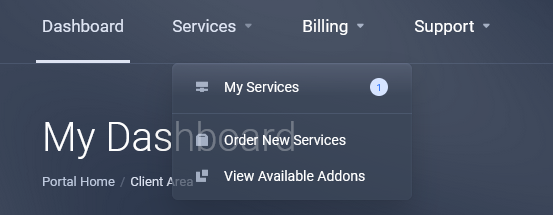
By clicking Services it shows Blakey has 1 current Active service and an option to make new orders. Again these are all shortcuts to take you to that area.
Next is the main area under “My Dashboard”
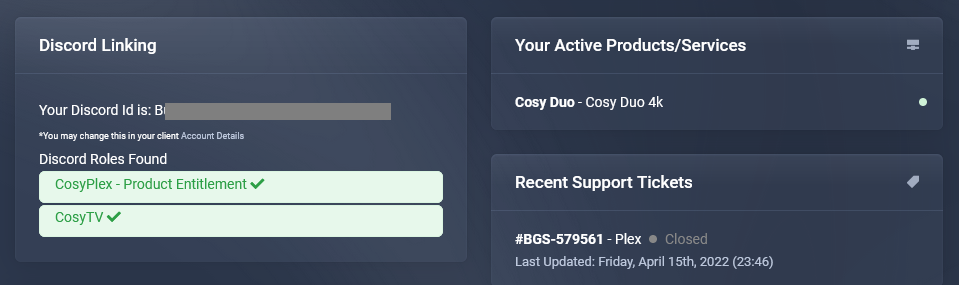
This includes areas like Services, Unpaid Invoices and Tickets (open) you click the appropriate box to see that area. Below is a continuation of your Dashboard and it’s showing they have been linked to our Discord Support Group and automatically assigned the CosyPlex (and other) roles. If you are not linked it will show in red not green. To fix that you need to be in our Discord group, your full Discord Username saved in your Profile (top right of the Dashboard) once saved and page refreshed it will show any roles assigned to any Products you have. No Products = no Roles = You don’t get access to the important channels in Discord.
On the right you will see all Products you have and any recent and current Tickets.
Your Profile and Account area, these are pretty self explanatory. Click on your name top right (mobile view already shows open) and you see the following options.
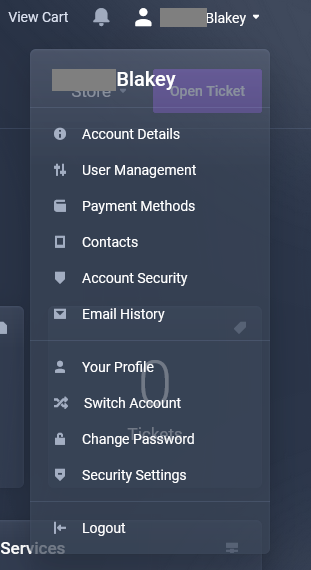
As you can see, self explanatory so we won’t go in to them although the Discord Username link area is under Account Details (note it will not save unless you have an address filled out) if you’d rather no address show then open a ticket.
So now we are going to click on Services from inside the Dashboard.
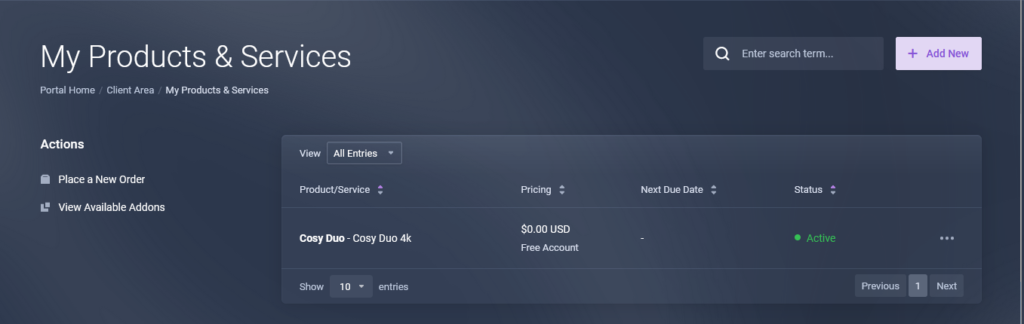
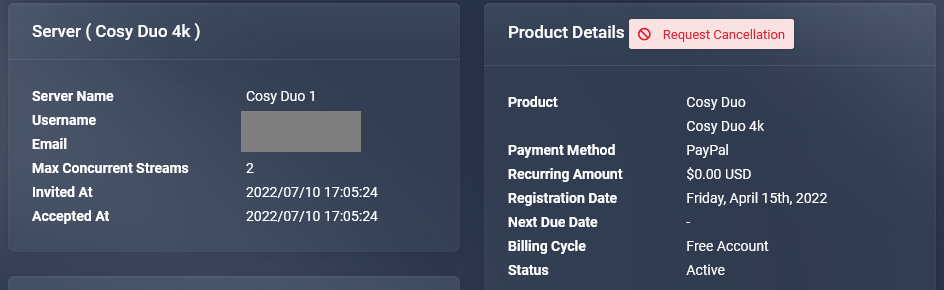
Now we see the My Products & Services area, shortcuts on left and right to add new services. In the middle is your Products, in this case is Cosy Duo 4k showing the cost and whether it is active or not. If you click on it you will then see the dedicated area for that Product/Service.

Now the geeky fun part.
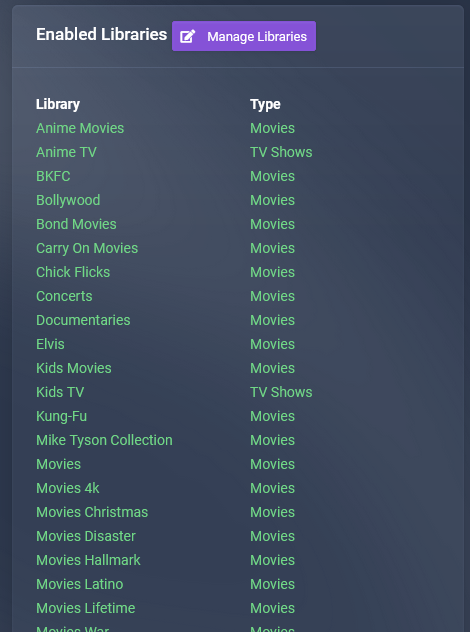
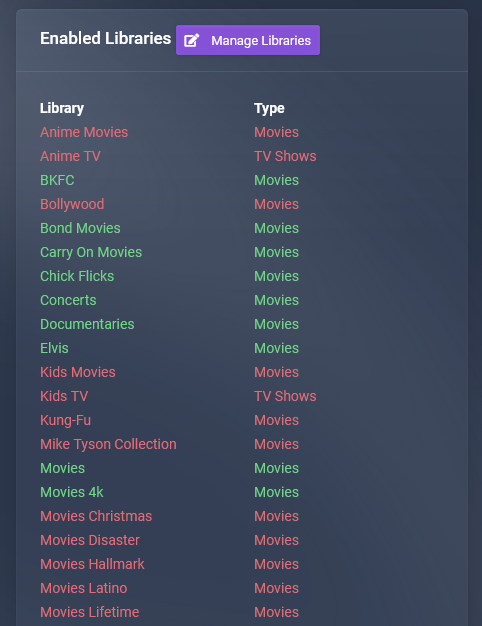
Green = Libraries that will show in your Plex App
Red = Libraries that won’t show in your Plex App
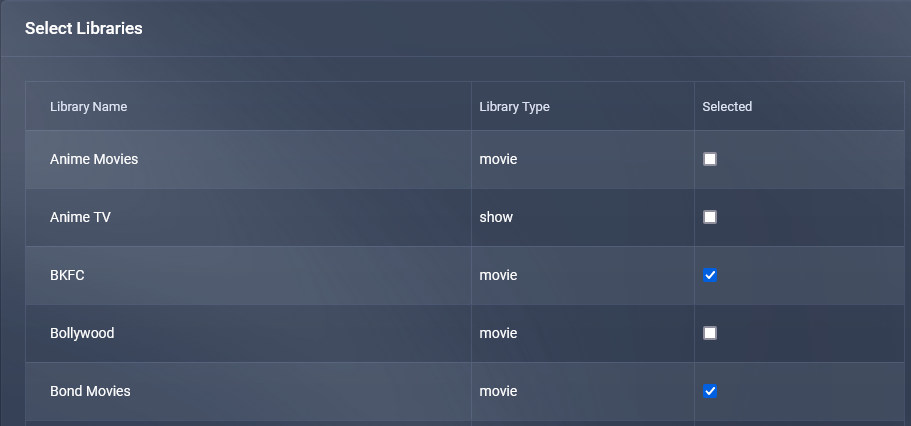
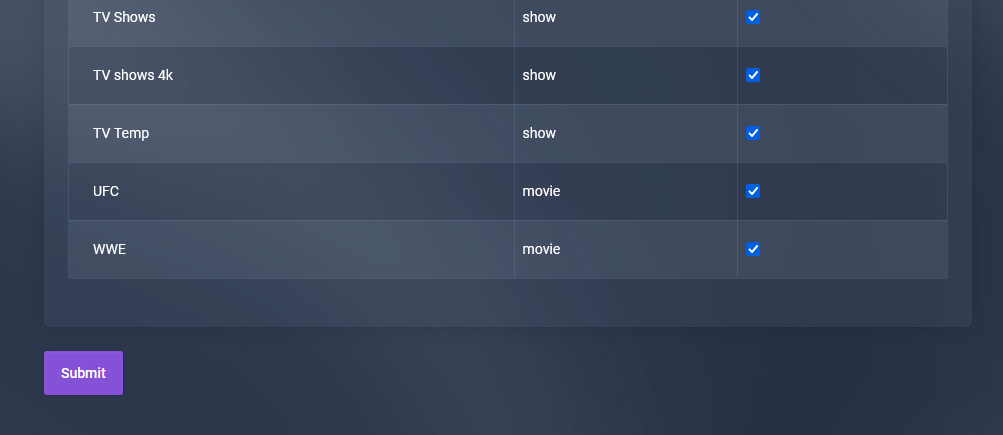
So if we click on the “Manage Libraries” button it will take us to this next area.
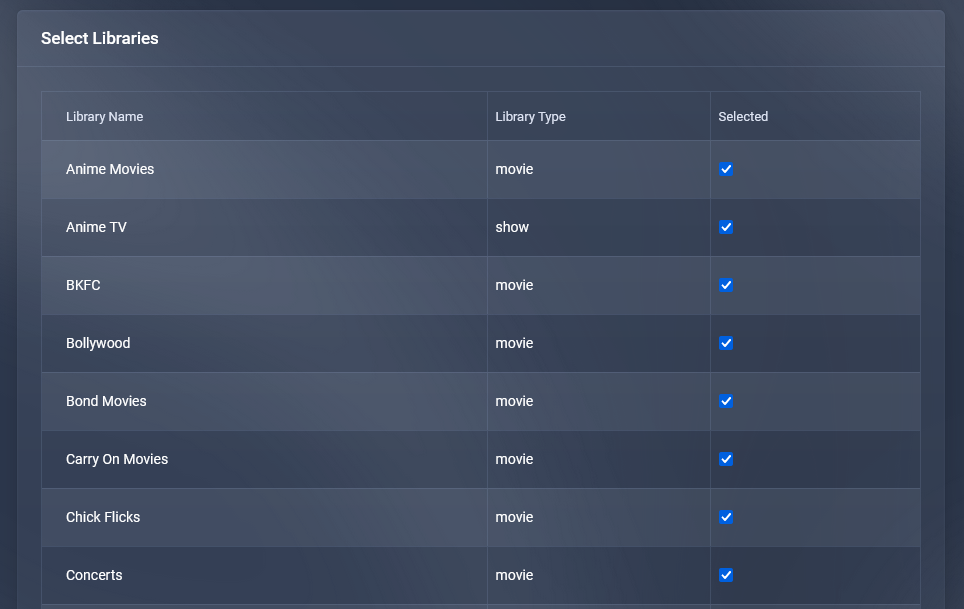
Here we can deselect/uncheck/disable any Libraries we do NOT want showing in our Plex App. Ex: Blakey doesn’t want Anime Movies showing, so he uncheck the blue check box on the right.
Now what if you want to add a new Product/Service?
Currently if you want to add a new product for a friend or family member who isn’t tech minded you will have to create a new Account for them and their Plex Email (like you originally did yours).
(If you are a new user or not signed up yet and/or are still confused with this, please send a support mail or open a support ticket and we’ll answer any questions you may have)
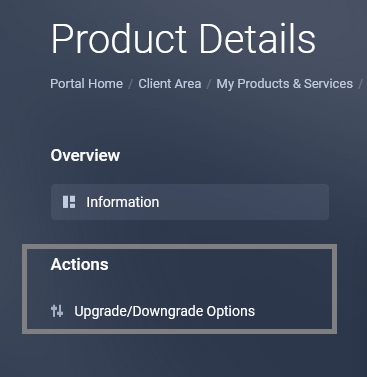
You can however add more connections to your account and they can sign in to their Plex App using your details (do this only if you trust them) so to do this we go to the Dashboard, click on Services, click on the Cosy Duo Product you want to add extra connections to, look to the left of this area and click on Upgrade/Downgrade Options.
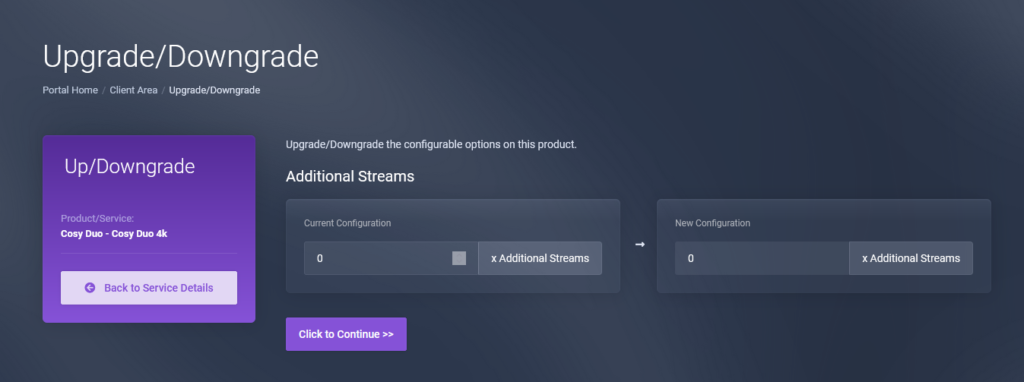
To add more connections simply type in the amount in the right hand text box, so example 1 extra connection will cost you an extra $2 per month, 2 extra connections will cost you an extra $4 per month and so on. The new count is for extra connections and will not include your default 2 connections. Once you have entered the number of extra connections, hit the “Click to Continue” button.
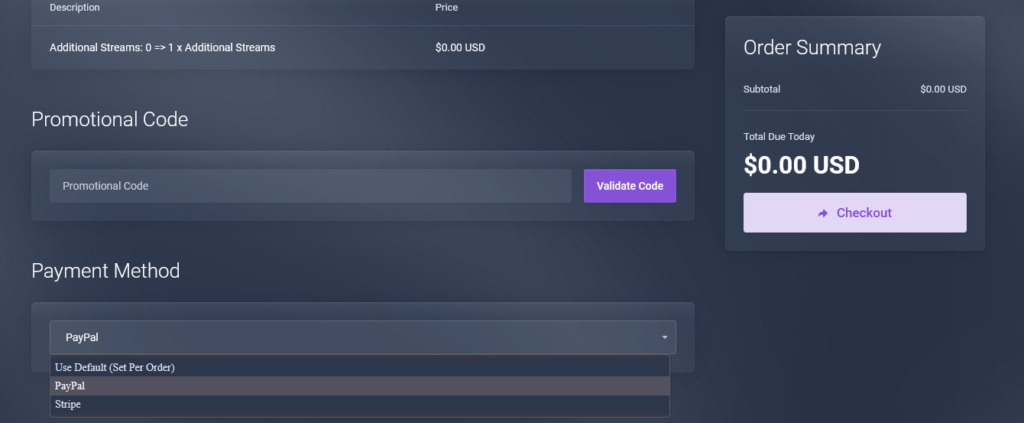
Here you will see all the info on how many extra connections, how much extra it will be per month, select your chosen Payment Option EX: PayPal or Stripe, then click the “Checkout” button to complete the process. Please understand the new subscribed payment will be separate to your default subscription (which will continue @ $12 per month) and will recur every month on the date of adding/paying for the extra connections (unless you are a completely new customer and do all this at the same time).
So if you add 2 extra connections your monthly breakdown will be:
Cosy Duo 4k @ $12 per month (until cancelled) on the date set up
Extra Connections @ $4 per month (until cancelled) on the date added
Making a combined total of $16 per month (until cancelled)
You cannot just have extra connections, a default Cosy Duo 4k Subscription is always needed.
If you’d rather it all be in 1 monthly payment open a ticket.
That’s it for the rundown of the Client Area.